A laminator that runs perfectly for six hours and then begins delaminating is not suffering from a sudden fault. In most cases, the root cause was already present at startup—a glue film that hadn’t stabilised, a feeder gate with a 1.5 mm drift, or a heating plate that hadn’t reached soak-through temperature. A 20-minute structured checklist before production begins catches these conditions before they become rejected pallets.
The following startup routine applies to sheet-to-sheet corrugated laminators. No specialised tools are required beyond a temperature gauge, a thickness gauge, and a cleaning scraper.

The gap between the glue roller and the doctor roller controls the adhesive film thickness applied to the flute tips. A gap that has shifted overnight by as little as 0.02 mm changes glue consumption and bond strength measurably.
Pull out the glue tray and inspect the doctor roller surface under a work light. A thin, even film of dried adhesive residue is normal. Streaks with bare metal showing underneath indicate the gap was too tight on the previous shift, grinding the roller surface against the doctor roller. If streaks are present, re-check the gap with a feeler gauge at three points—operator side, center, and drive side. Adjust to the machine’s specified film thickness range, typically 0.25 mm to 0.35 mm for standard water-based adhesive. Run a scrap sheet through the glue unit and measure the coating thickness on the flute tips with a wet film gauge to confirm the setting.
If the glue tray was left with adhesive overnight, the top layer will have skinned, and the viscosity near the roller surface will be higher than the rest of the sump. Cycling the glue pump for 5–10 minutes before feeding sheets equalises viscosity throughout the system. Check the viscosity cup reading after circulation; seasonal temperature changes often require small adjustments to the water-to-adhesive ratio. A viscosity that drifts outside the supplier’s recommended range causes either starved glue lines (too thick) or excessive squeeze-out (too thin), both of which lead to warping after the sheet exits the pressing section.
The feeder gate controls the gap through which a single sheet passes from the bottom of the stack. This gap is set to the calliper of the printed top sheet plus approximately 0.3 mm clearance. Measure the sheet thickness with a micrometre; corrugated board calliper can vary by up to 0.15 mm between batches. Set the gate, then jog the feeder through five cycles without glue to verify single-sheet feeding. Double-feeding at startup is the most common cause of jammed registration guides and bent feeder fingers.
Check the side and front lay guides for any paper dust buildup. A layer of compacted dust only 0.5 mm thick changes the registration alignment enough to misalign the top sheet relative to the bottom board by a visible margin. Wipe guides clean with a dry cloth every morning.
The pressing section’s heating plates or heated rollers need to reach thermal equilibrium before production sheets pass through. The surface temperature reading on the HMI is not the same as the internal core temperature, and the plate surface itself may have cold spots from standing overnight. Start the heating system and allow at least 15 minutes of soak time after the setpoint is reached, not just when the display shows the target temperature. A quick way to verify: press a hand-held infrared thermometer against five points across the heating plate surface. A variation greater than ±5°C between the hottest and coldest spot usually means a failed cartridge heater or a clogged heat transfer channel that will cause uneven adhesive curing.
For machines equipped with a flute laminating machine that uses zoned heating control, check that each zone reaches its independent setpoint before clearing the machine to run. A single cold zone on the operator side will produce sheets that bond well on the drive side but delaminate under trimming.
Misaligned transfer belts or stacker backstops cause scuffed surfaces and skewed stacks that the downstream die-cutter rejects. Run one sheet through the entire machine path—glue unit, pressing section, conveyor, and stacker—without printing or bottom board. Watch the sheet as it transfers between sections. A sheet that veers 2–3 mm sideways between the pressing exit and the conveyor indicates a belt tension imbalance that needs immediate correction.
Adjust the stacker side joggers to the sheet width plus 1–2 mm of clearance. Overly tight joggers curl the board edges; loose joggers allow the stack to shift, causing handling problems at the next process step.
Most sheet-fed laminators use vacuum suction to separate the bottom sheet from the stack at the feeder and air blast nozzles to assist sheet transport at the registration point. Check the vacuum filter and drain any accumulated water from the air preparation unit. A partially blocked vacuum filter reduces suction force, causing intermittent missed feeds that operators often mistake for a timing problem.
A startup log that records glue gap settings, adhesive viscosity, heating plate temperature distribution, and feeder gate clearance creates an invaluable reference for troubleshooting. When a quality issue appears mid-shift—delamination, warping, registration drift—the log lets you compare current conditions against the morning’s verified baseline. The machine doesn’t need to be stopped for trial-and-error adjustment; you go directly to the parameter that has shifted.
Assign one operator per shift to own the startup checklist. The 20-minute investment more than pays back through reduced warm-up waste. Paper sheets that enter the glue unit before the system is ready almost always end up as rejected product. Keeping the rejected pile small is a direct measure of how well the startup sequence is followed.
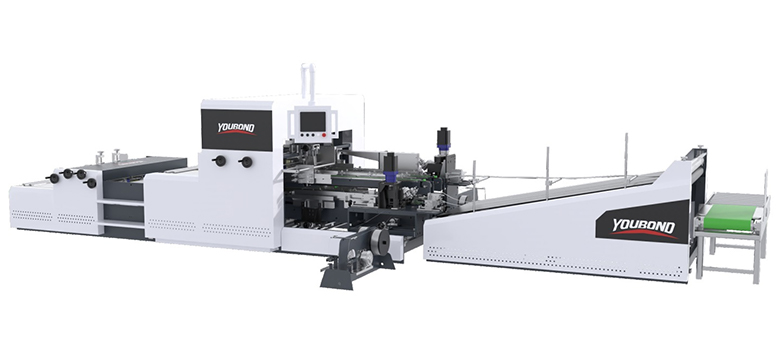
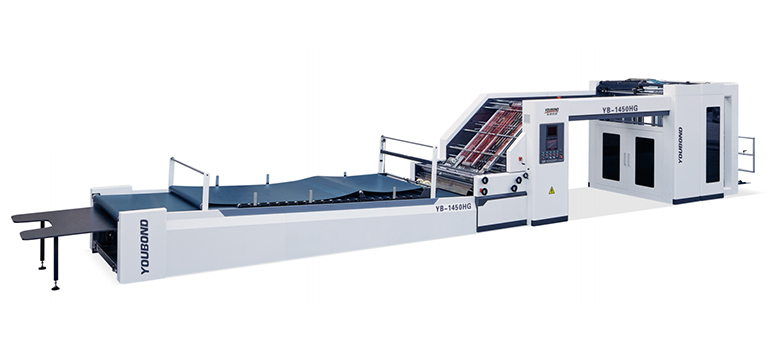
For operations considering equipment that simplifies these daily checks, corrugated laminating solutions from YOUBOND incorporate tool-free glue gap adjustment and zoned heating with individual HMI readouts. You can view the equipment details to see how these design choices reduce the time an operator spends on Steps 1 through 4 each morning.
GET A QUOTE